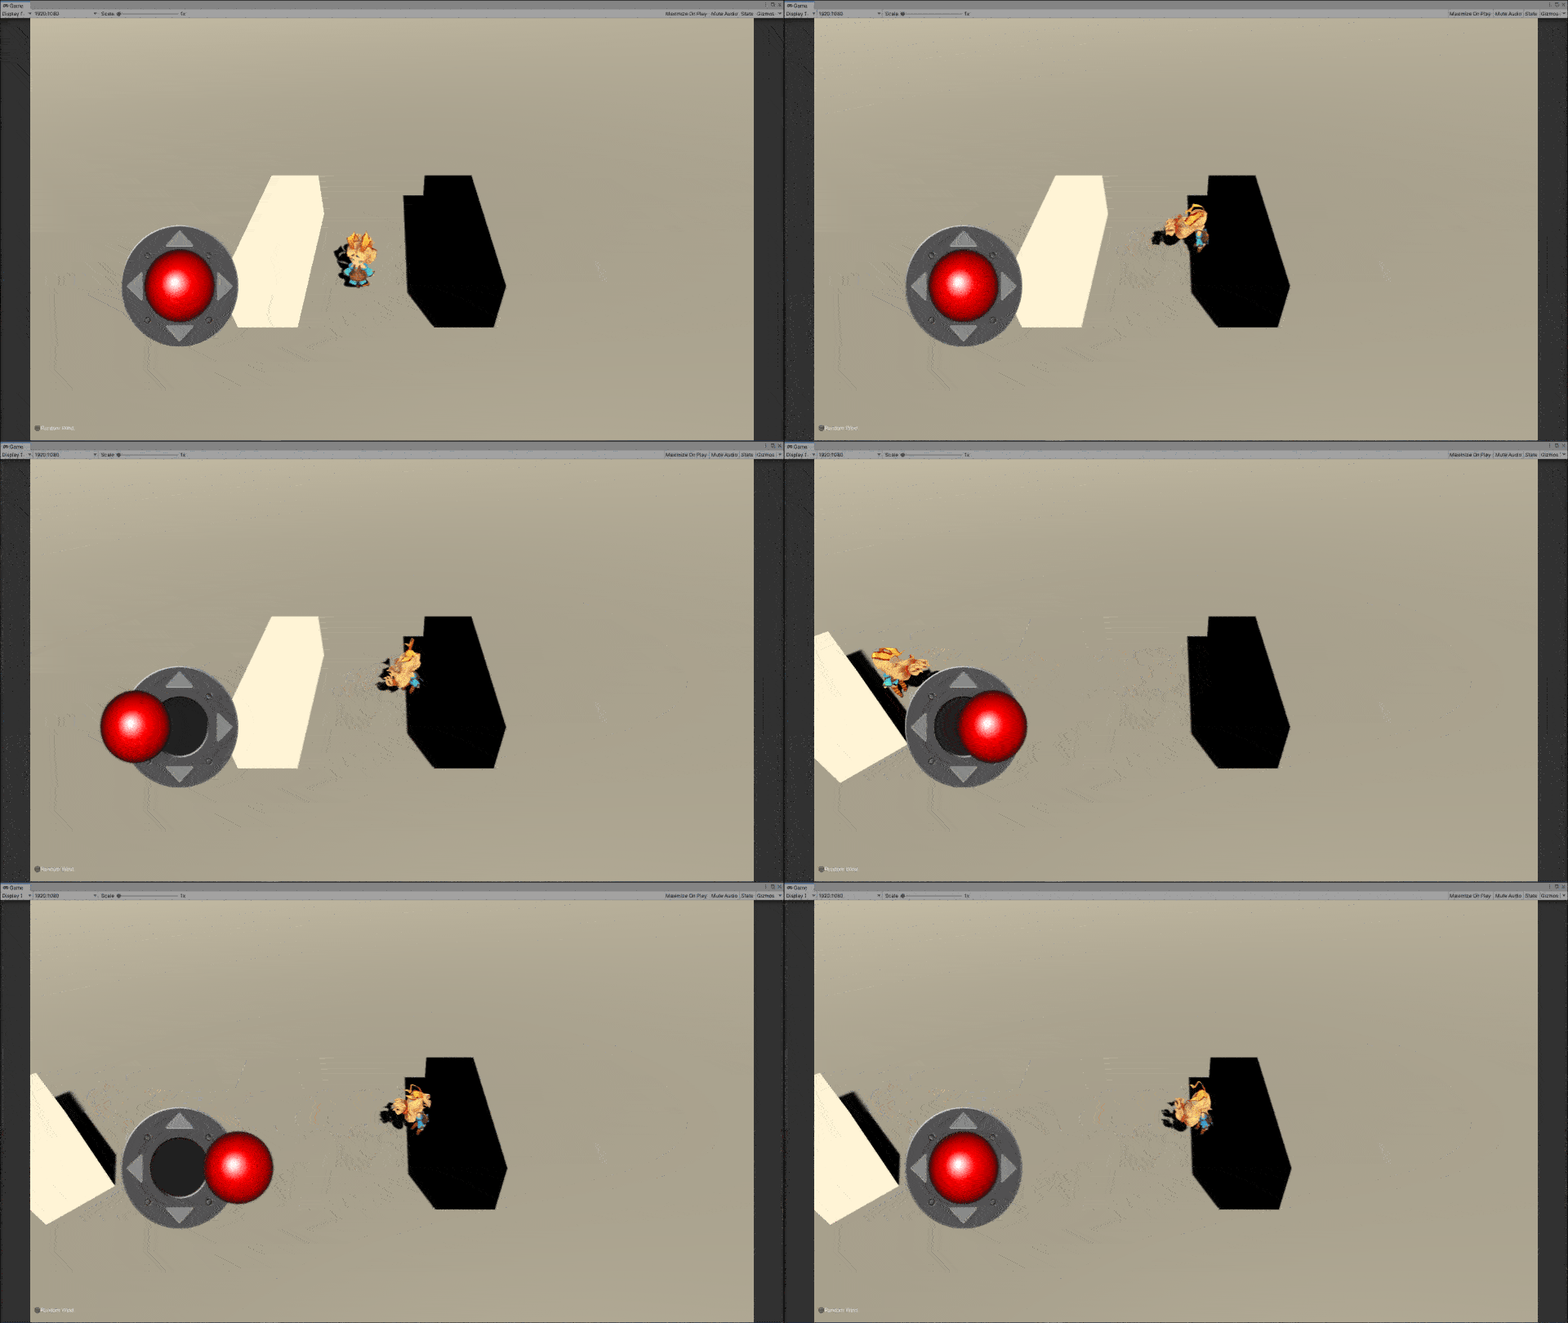
Rigidbodyベースで、物理法則の影響を受けるようにしつつ、CharacterController風の操作性を再現。
(結構前の記事なので、内容自体がクオリティの高い物なのか不明なのですが、興が乗ったので推敲しておきます)
手順
Playerを作成
- 新規GameObjectを作成、「Player」と命名。
- インポートした3Dモデルを「Player」下へ設置。
- 「Player」に新規Script「Player」を追加。
CapsuleColliderを追加&設定
(SD_Unityちゃんでの例。他3Dモデルでは各自調整の事)
- 「Player」にCapsuleColliderを追加。
- Center Y: 0.5に設定。
- Radius: 0.2に設定。
- Height: 1に設定。
PlayerにRigidbodyを追加&設定
- 「Player」にRigidbodyを追加。
- ConstraintsのFreezeRotationのX, Y, Zを有効化。
コード
- スクリプト「Player」に次のコードを追加。
//インスペクターから紐付けしておく。
	[SerializeField]
	Transform tf;

	[SerializeField]
	Rigidbody rb;


//【任意の値】
	float speed = 3.0f;
//【任意の値】
	float speedMax = 6.0f;

	Vector3 tempVelocity;
	Vector3 lookAtDirection;

//【任意の値】
	float lookAtRate = 0.2f;
//【任意の値】
	float dragRate = 0.2f;

	float lookAtThreshold = 1.0f;

	Vector2 inputValue;

	static readonly string HorizontalStr = "Horizontal";
	static readonly string VerticalStr = "Vertical";


	void Update()
	{
		LookAt();
		DragIgnoreY();
		inputValue.Set(Input.GetAxis(HorizontalStr), Input.GetAxis(VerticalStr));
		Move(inputValue);
	}


//インプット系から呼ぶ。
	public void Move(Vector2 direction)
	{
		rb.AddForce(Vector3.right * speed * direction.x, ForceMode.VelocityChange);
		rb.AddForce(Vector3.forward * speed * direction.y, ForceMode.VelocityChange);

//速度に上限を設定。
		tempVelocity.Set(Mathf.Clamp(rb.velocity.x, -speedMax, speedMax), rb.velocity.y, Mathf.Clamp(rb.velocity.z, -speedMax, speedMax));
		rb.velocity = tempVelocity;
	}


//Y軸を除いた加速度に疑似空気抵抗を掛ける。
	void DragIgnoreY()
	{
		tempVelocity.Set(Mathf.Lerp(rb.velocity.x, 0, dragRate), rb.velocity.y, Mathf.Lerp(rb.velocity.z, 0, dragRate));
		rb.velocity = tempVelocity;
	}


	void LookAt()
	{
		lookAtDirection.Set(rb.velocity.x, 0, rb.velocity.z);

//一定以上の速度の場合、徐々に進行方向を向く。
		if (lookAtThreshold <= lookAtDirection.sqrMagnitude) {
			tf.rotation = Quaternion.Slerp(tf.rotation, Quaternion.LookRotation(lookAtDirection, Vector3.up), lookAtRate);
		}
	}
ライセンス表記
UnityちゃんSD:(C)Unity Technologies Japan/UCL.


